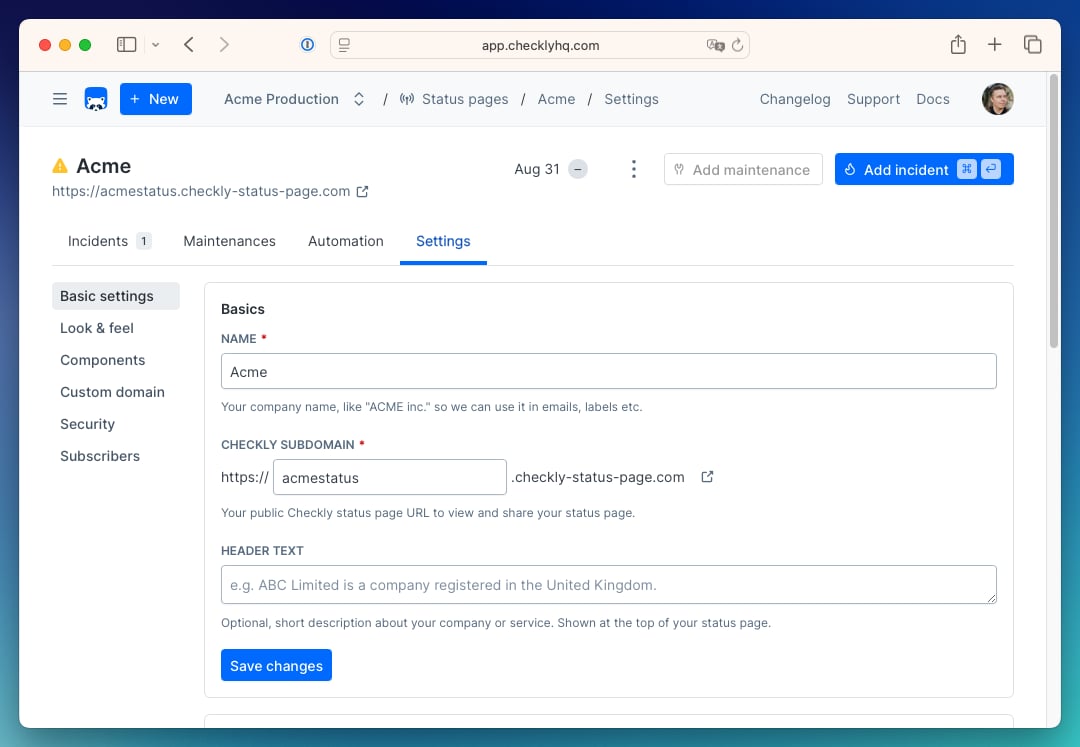
- Enter a name for your page. This name is used in the page header and in emails to subscribers.
- Customize the subdomain slug for your page. Status pages use the domain
<slug>.checkly-status-page.comby default. See Custom domains to use your own domain. - Add components for the parts of your product you want to report on. Use Add group to nest components under a shared heading, and drag to reorder. See Components.
- Optionally set a logo, favicon, and theme. See Customization.
- Click Create status page. You will see your page’s details, and a link to the public version of the page below the title.